


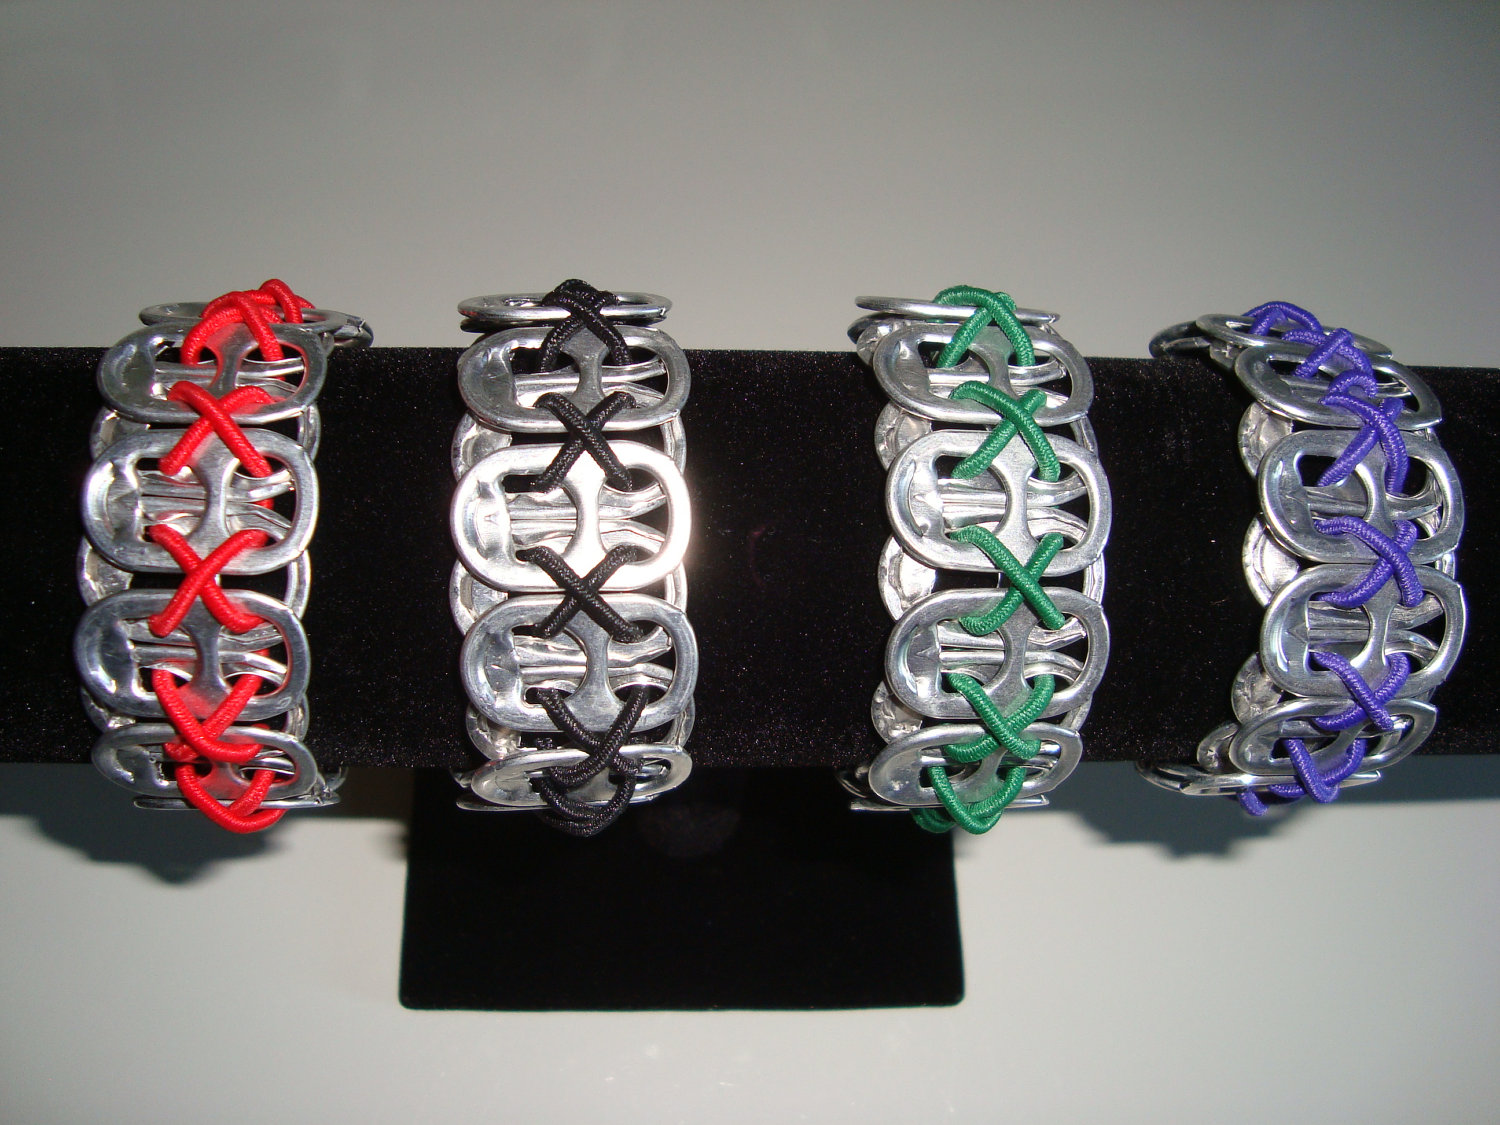
The markets of Janpath and Karol Bagh are filled with nothing but lines of small stalls selling trendy, cute bracelets. Bracelets we all really want to buy for ourselves, bu what’s interesting than buying these bracelets is make them ourselves at home. Now with the help of this article, you can make your own trendy bracelets with can tabs.
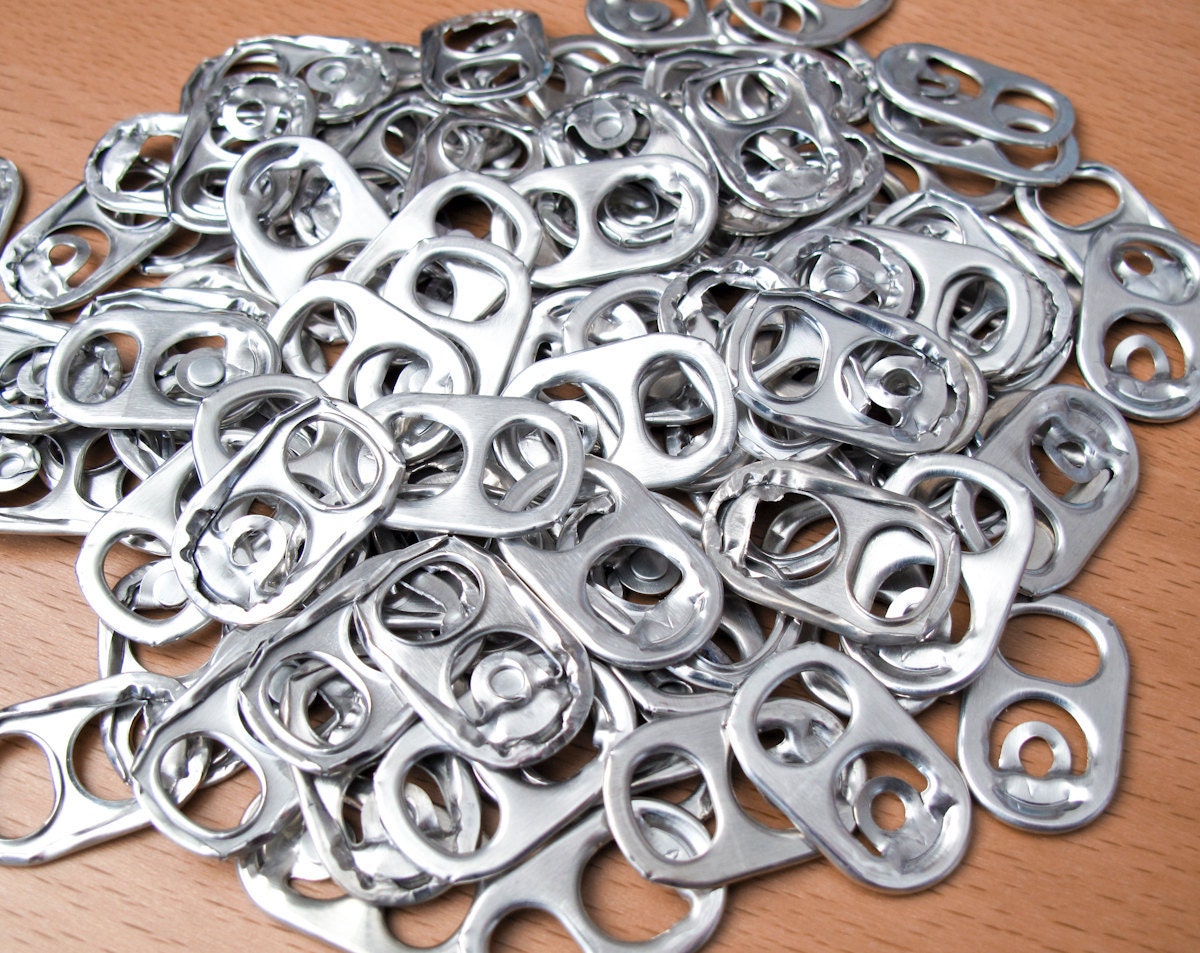
This is the item that we will be making our next DIY with.

Well, now you have a clear picture what we are going to use to make some bracelets, go have some coke or whatever canned drink you like! Then get ready to make this DIY bracelet. This do it yourself project is fairly easy but obviously it takes some time. To make these cool bracelets you will require 10-20 minutes. The time required depends on how quick you are and how well you follow instructions.
What all you need:
1. Twenty five tabs for the bracelet so go have some soda!
2. Your favorite colored ribbon
3. Needle
4. Scissors
5. Glue stick
Steps to follow to make the bracelet:
Step 1
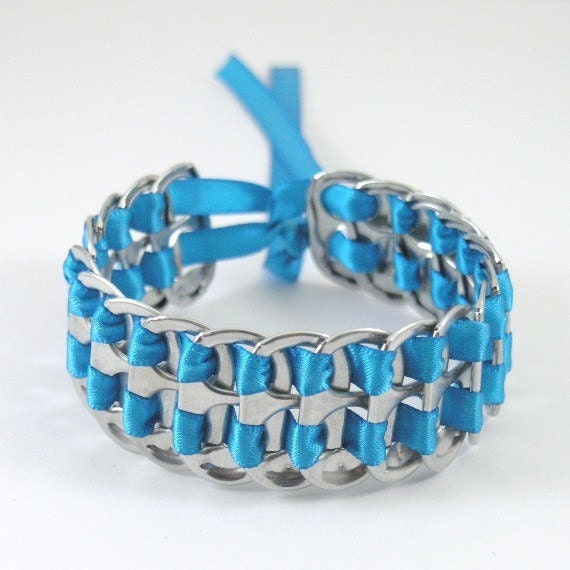
First you need to measure the amount of ribbon you need and cut it. The amount of ribbon required depends on the size of your wrist. A bracelet needs something around 3 feet of that ribbon . After you cut the ribbon to the exact length you require, mark the middle of the ribbon with a black permanent marker. You need to do this very precisely because you need to start working at the middle of the ribbon.
Step 2
So now you can slide your first can-tab onto the ribbon piece you have cut. Make sure you put it on in such a way that it faces the outside of the bracelet so that it won’t be on the smooth side. Make sure to follow this otherwise your bracelet might hurt your wrist when you wear it. Then, get the second can-tab and loop the ribbon over and back to the first tab . I’m sure it sounds confusing but you’ll get it. Then, put the string through a third can tab and do the same as earlier. Now, both sides of your trendy bracelet should look somewhat similar now.


Step 3
Now just continue doing this (step 2 basically) to complete your bracelet.
Step 4
To finish your bracelet, you need to put the ribbon through the beginning of the bracelet and tie a knot so that it doesn’t open. Your bracelet is ready!


I hope your bracelet looks somewhat the same. Here are a few suggestions;
- Color your soda can tabs to make your bracelet more attractive.
- You can even use a string if not a ribbon! Even a piece of yarn looks homey and is comfortable.
- You can add some beads in your bracelet
- You can make a different knot at the end- it will trend up your piece.
I hope you enjoyed making a beautiful bracelet! Send us pictures of what your bracelet looks like and tell us what you want to make next.
If you liked the article and found it useful, do share it and subscribe to our website for more such articles.
Happy DIY-ing!